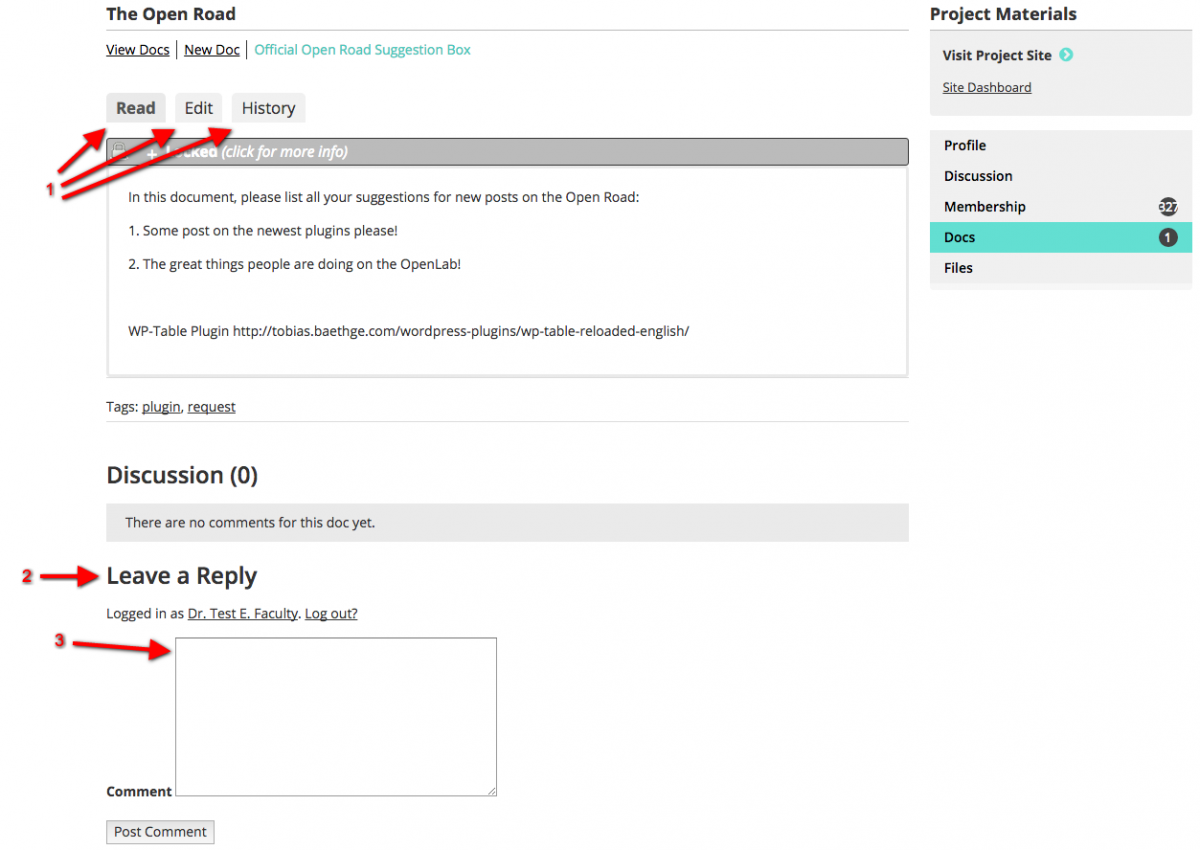
Docs are documents that members of the group can add, edit, and comment on. Unlike Files, which can only be uploaded and downloaded, not edited, Docs are helpful for creating course wikis and other collective projects. Docs are a dynamic area of Course, Projects, and Clubs on the OpenLab and can significantly contribute to a Course, Project, or Club’s online experience. For an example of how Docs are used in a Course on the OpenLab, see Prof. Jody Rosen’s ENG 2003: Introduction to Poetry “Glossary” document. Prof. Rosen’s students contributed a new word every week resulting in a valuable resource that students could call their own.
In order to start create, edit, or comment on a doc, you need to first be logged into your account on the Openlab.
Creating Docs
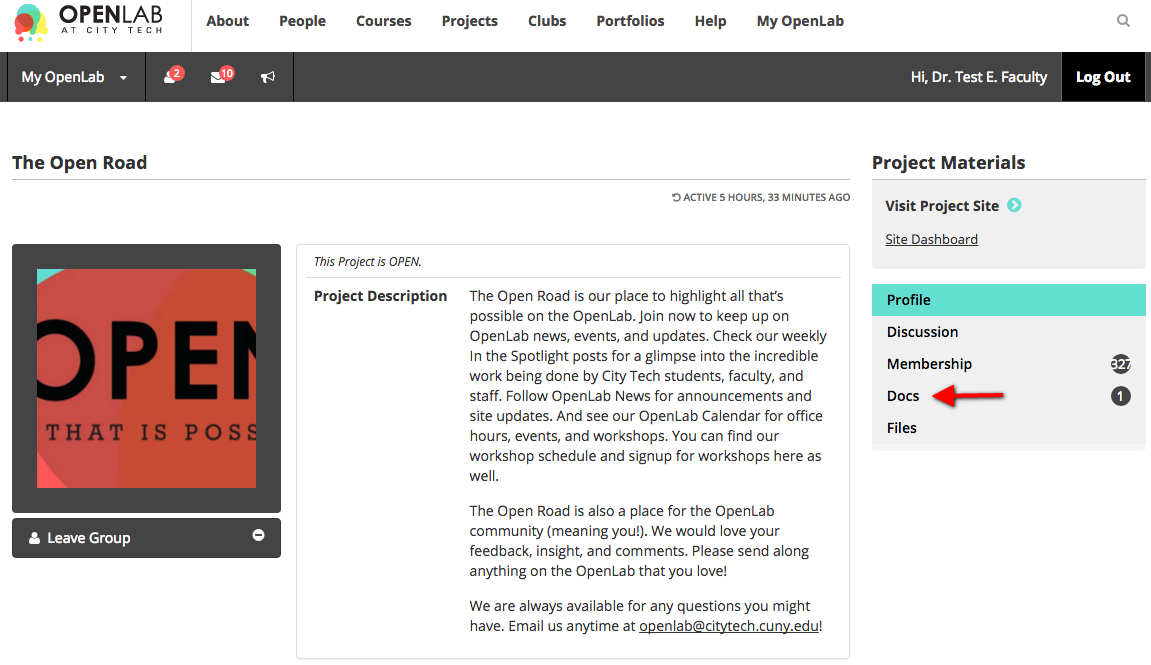
1. From your Course, Project, or Club’s profile page click Docs in the right-hand menu.
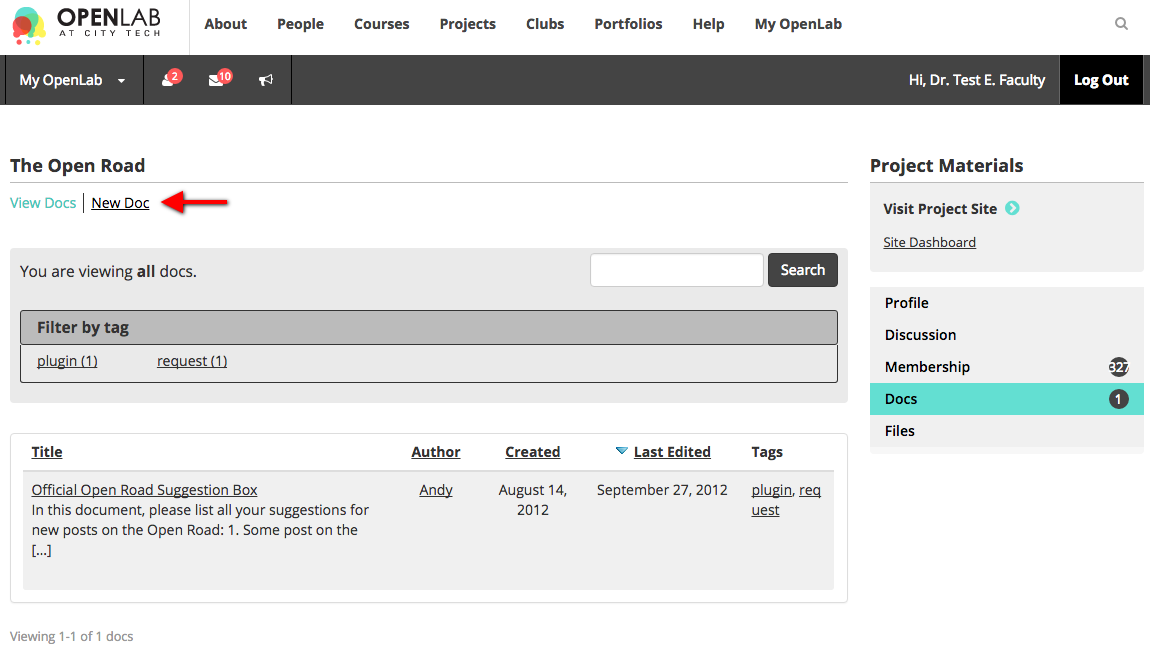
1. Click on New Doc.
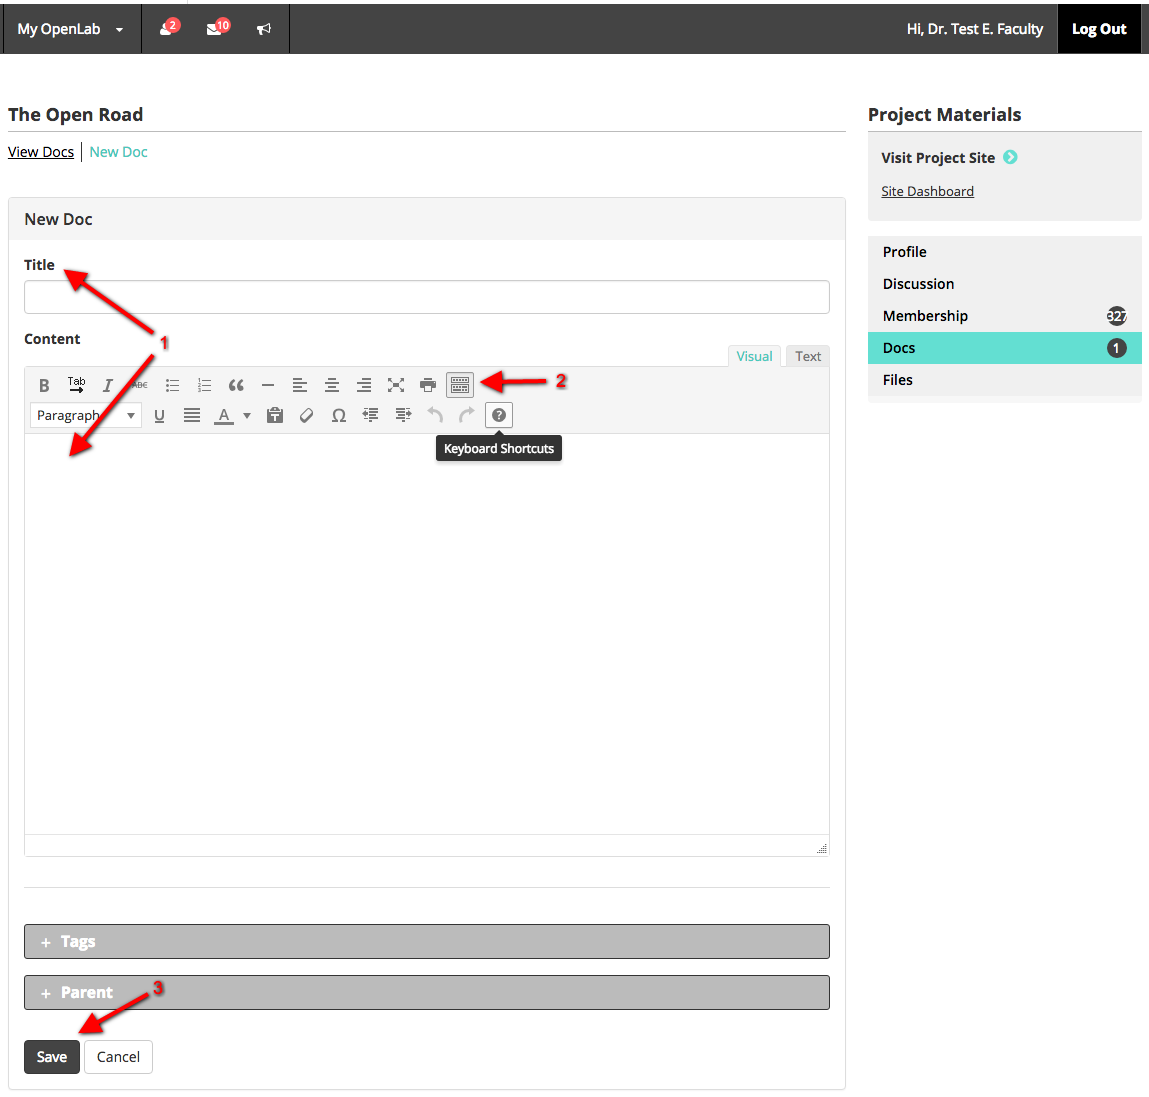
1. You can then begin entering the Title and the Content.
2. If you would like to format the content in more detail, you can click on the Kitchen Sink icon for more formatting tools. You can also copy and paste from Microsoft Word and text documents. (This is important because Word has hidden ways of formatting documents that can be lost. If you copy and paste in another way your document might not look right.)
3. Click Save.
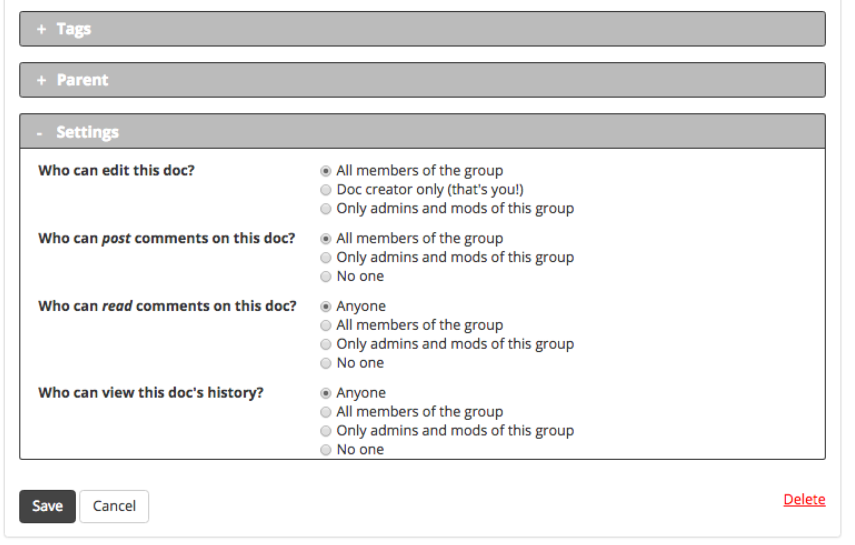
As an administrator, you can also set the role at which a user can create a new Doc: it can be set so that different levels of role (administrator, moderator, user) can either view, create, or edit docs.
Viewing a Document
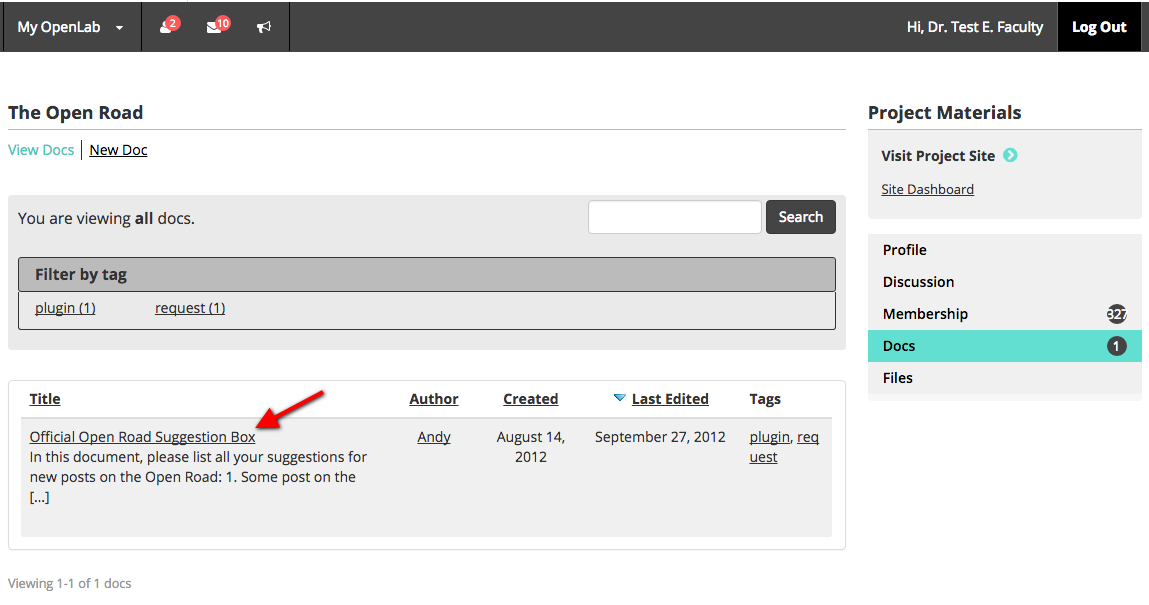
1. From your Course, Project, or Club’s profile page click Docs in the right-hand menu, then click the title of the document to see it. You can also sort based on any of the headings.
Commenting on a Document
1. Once you’ve opened a document, you can view it, edit it, or look at its history.
2. Scroll down past the document to the Discussion area to Leave a Reply.
3. Type your comment in the Comment box.
4. Once you are finished click Post Comment.
