“Files” are documents that members can upload to the group. Unlike “Docs,” “Files” are static and cannot be commented on. They can only be edited by the group Administrator or the member who originally uploaded the file. Files are a good place to put documents that will be useful resources for the group but aren’t intended to be collaborative projects like “Docs.”
In order to upload, edit, or delete a file you need to first be logged into your account on the OpenLab.
Uploading a File
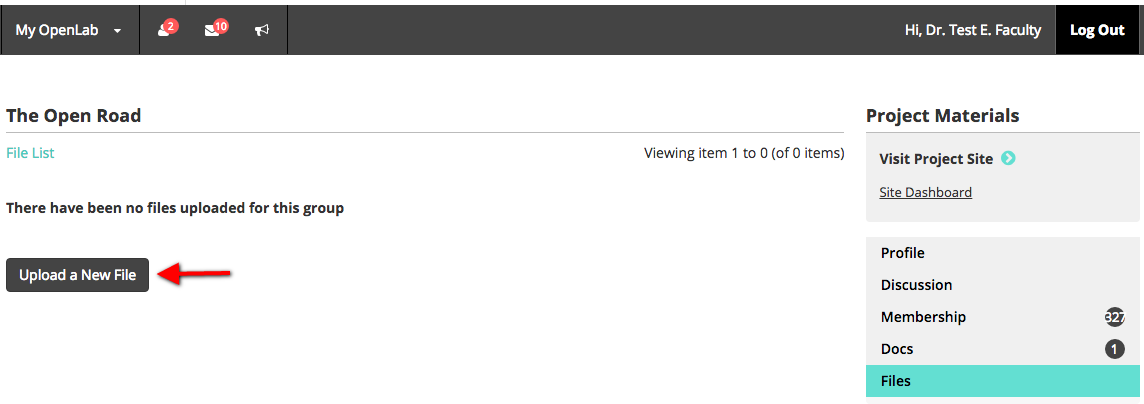
1. From your Course, Project, or Club’s profile page click Files in the right-hand menu.

2. On the “Files” page click Upload a New File.
3. To upload your file, click Browse to choose a file from your own computer. You can choose to enter a Display Name, and Description.
You can also organize files into folders. If you would like to create a new folder for the file you’re uploading, type the name of the folder in the field that says Add new folder. The new folder will be created and your file will be included in it. If you have existing folders, you can also choose one from the list and your file will be added to the folder.
4. When you’re finished, click Submit.

Viewing a File
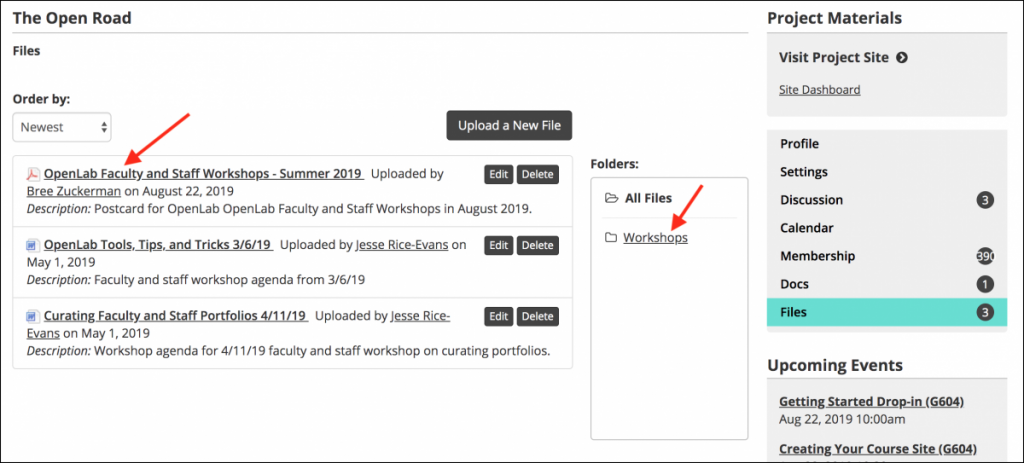
1. From your Course, Project, or Club’s profile page click Files in the right-hand menu.
2. On the main Files page click the title of the file you want to view. This will automatically download the file on your computer.
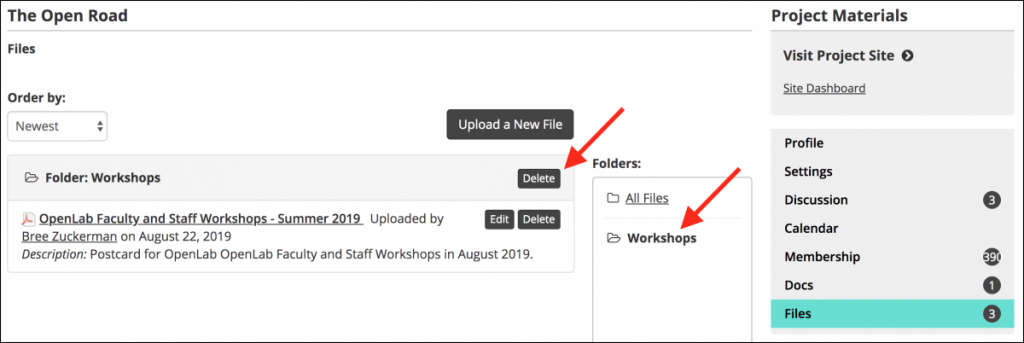
3. To view the files in a particular folder, click on the name of the folder.
Deleting or Editing a File or Folder
1. If you are the Administrator for your group or you uploaded the file itself you can edit or delete the file. From the Files page, click either Edit or Delete.

2. To delete a folder, click on the name of the folder, and then click Delete. Deleting a folder with files in it won’t delete the files. They will still appear on the main files page.