Plugins add functionality to your course, project, or club site. A plugin may allow you to create, manage, or edit features of your site that you cannot normally create, manage, or edit without the addition of a plugin. You can view available plugins by going to your site Dashboard and clicking Plugins > Installed Plugins. Please note that plugins are often edited and updated, so plugin availability can change. Additionally, some plugins add features to the OpenLab network as a whole and not just your specific site. Learn more about plugins currently available for use on the OpenLab in Guide to Plugins.
1. You can add plugins to your site by going to your site Dashboard and clicking Plugins > Installed Plugins in the left-hand menu.

2. Once you have selected the plugins that you would like to activate on your site, click Activate underneath the plugin description.

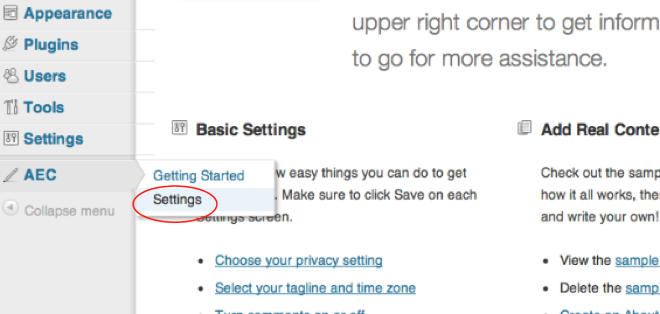
3. Once activated, the plugin title will usually appear at the bottom of the left-hand menu or in the Settings menu (though sometimes they can be hard to find–contact the OpenLab if you’re confused). You can edit the settings for the plugins activated on your site by clicking the plugin title and then Settings.

4. For additional help with managing plugins, go to your site Dashboard and click Plugins > Installed Plugins, and then Help > Documentation on Managing Plugins at the top right corner of your screen.